 Step one: Find a bowl that looks interesting. This bowl is from Ikea.
Step two: Dip some sinamay in gelatin water, using unflavored gelatin and hot water to form a sizing to keep the sinamay stiff.
Step three: Cover the outside bowl with plastic wrap, and then two layers of sinamay. Leaving 2 inches beyond the edge of the bowl, trim excess sinamay.
Step four: Fold edge of sinamay over the edge of the bowl, and hold fast using clothes pins.

Step five:
 While the sinamay dries, cut a band on the bias, fold edges under, iron, and stitch.
Step six: Insert millinery wire into a velvet tubing. Overlap wire and secure to create a circle conforming to the edge of the bowl.
Step seven: Fold edge of sinamay over the tubing, and stitch sinamay hem closed.
Step eight: Position head band on hat body, ajusting size and postion for comfort and angle. Stitch to hat body.
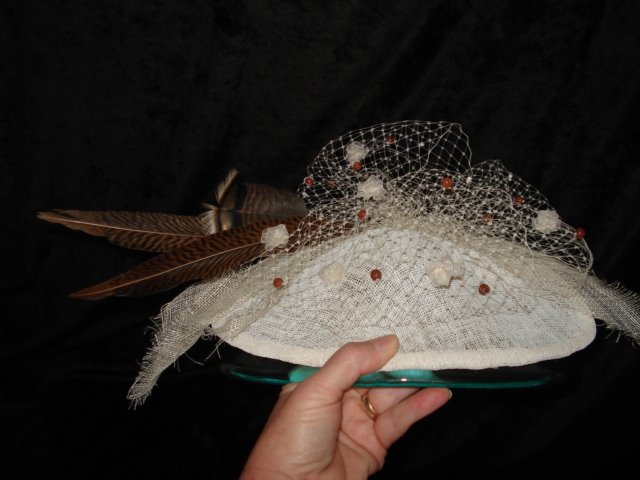
Step nine: Decorate/trim.
Step ten: Wear and enjoy!
PS: The head band goes under your hair if you would like. My model Joan's hair is a tad stiff, ya know what I mean? I just couldn't get it to move at all!


1 comment:
Again! How great! When is your first class, ladybug?
Post a Comment